My husband loves to bake bread and has been dedicated to mastering different methods and techniques. We recently decided to merge his impressive baking prowess and my food history knowledge to develop an authentic loaf of turn-of-the-19th-century bread.
Artisan bread-making is not as straightforward as simply adding ingredients together and making a dough. Even slight changes in technique can yield different results. This recipe is the result of six different loaves made using five different techniques. The method below is easily our favorite one, and it works well both shaped into a boule and baked in a pullman pan.
Bread-making in 1805
Breads baked during this era, particularly in the English countryside, would have most likely been made in a wood-fired stone or brick oven. Some wealthy families had private iron ovens and ranges built into a brick fireplace using innovative heat technology developed by Sir Benjamin Thompson (“Count Rumford”) in the 1790s. Farmers and laborers may have only had access to communal brick ovens, but it was actually very common for people to buy their bread from a bakery or “bakehouse,” much the way we do today.
We do not have access to a period brick or iron oven, so we experimented with both a pizza stone and a cast-iron dutch oven as alternatives. For fun, we also tried the same recipe in a box pan, now known as a Pullman loaf pan. The mixed bread recipe below was likely not baked in a Pullman pan, but it is still not outside the realm of possibility. Square bread pans made of tin were affordable and fairly common in Great Britain and Europe during the 18th century.
The Recipe
This recipe for a mixed wheat and rye bread is from a book called A Treatise on The Art of Bread-Making by Abraham Edlin, which was published in 1805. This book is considered to be the very first study of British bread-baking practices, as most of the knowledge up to that point was passed down largely through oral tradition between professional bakers.
Abraham Edlin was a physician, not a baker. Because of this, he approached the subject of bread-making from a scientific and medical perspective. He traveled throughout the country studying the health properties of grains and yeast, gathering recipes and techniques along the way. He also interviewed bakers to get a sense of how assize laws and costs of ingredients influenced the popularity and affordability of different types of bread.
Our mixed bread recipe comes from a section of the book exploring wheat alternatives and healthy substitutes. Edlin writes a little about the properties of rye and highly recommends it as a wholesome and nutritious grain. The original recipe would have been made in large quantities in a bakehouse (a “peck” of flour was a measurement that weighed somewhere between 9 and 14 pounds!), but this redaction is adjusted to make a single loaf of bread. By law, if this bread was sold in a bakehouse it would have been marked with the letter ‘M’ to identify it as a Mixed Bread.
This book is in my personal collection, but I found a digitized copy on Internet Archive for those of you who are interested.
Mixed Bread
To Make Mixed Bread.
Take a peck of wheat flour, and the same quantity of rye flour. Let these be kneaded together with a sufficient quantity of yeast, salt, and warm water. It should be covered up warm for two hours, to ferment, and then divided into large loaves, and baked in the usual way.
Ingredients (for a single loaf)
- 350 g warm water (90-110 degrees F / 32-43 C)
- 5 g active dry yeast
- 10 g sea salt
- 250 g rye flour
- 250 g wheat flour
Step ONE: The Dough
Combine yeast with the warm water and stir together. Let it sit for 5 minutes to allow the yeast to bloom.
While the yeast sits, combine the wheat and rye flours and add salt. Mix these together with a dough scraper, spatula, or wooden spoon.
Add the yeast water to the bowl and combine. Stir until a wet but malleable dough forms. Let the dough sit for 20 minutes. Note that this is a slightly wetter dough than a typical wheat bread. Avoid adding extra flour because it will affect the density of the final loaf.
Lightly flour your work surface and knead the dough for 10 minutes. Cover the dough with a tea towel and let it rise for 2 hours in a warm place.
Step TWO: Proofing
Put the dough on a lightly floured surface and knead for 5 minutes. Flatten the dough into an oval or circle then fold it into itself by pulling “corners” into the middle. Fold until you have a ball, then flip. Tighten the edges into a big ball (gently using your hands in the shape of a circle).*
Transfer the dough to a floured proofing basket or a kitchen bowl with a linen cloth in it. Let it proof for 30-45 minutes depending on how warm the room is (give it more time if you’re in a cooler environment). Proof until roughly doubled in size.
Rye flour does not have as much gluten as wheat does, so it will not rise as well. Kneading is important to develop the gluten, otherwise your loaf will turn out very dense and small.
*If you are using a Pullman pan, skip ahead to Step Three.
Step THREE: Baking
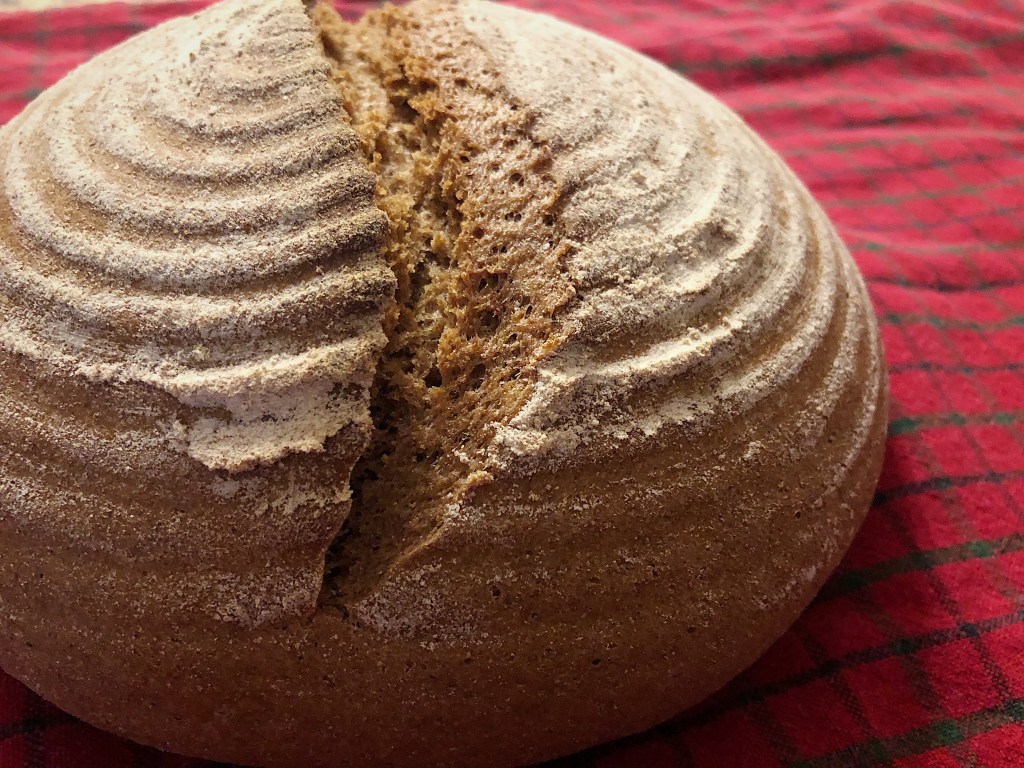
Boule-style Loaf
This is a round artisan loaf called a “boule,” which would have been a common shape in the 18th century.
This loaf is great baked on a pizza stone, but another option is to bake it in a cast iron pot with a lid or a dutch oven. Pre-heat your oven with the dutch oven inside to 450 degrees for 30 minutes until both are hot.
Turn out the dough onto a piece of parchment paper. Put the dough and parchment paper into the dutch oven and put the lid on. Bake for 30 minutes. Take the lid off and bake for 15 more minutes. The benefit of the cast iron method is that it keeps in the steam, which gives the loaf a toasted crust that isn’t as thick as it is when using a regular loaf pan.
If using a pizza or baking stone, bake at 450 F (230 C) for 40 minutes. Cool completely before cutting.
Pullman or Loaf Pan
Rectangular loaf pans were becoming increasingly common in Europe a the turn of the 19th century. In France, a lidded square pan used to make pain de mie was popular among bakers as early as the 18th century. This style of lidded pan created a sandwich bread with a softer crust. In the United States, these pans later became known as “Pullman” pans as their stackable shape made them ideal for train travel.
Instead of using a proofing basket, proof the dough directly in the pan. Start by flattening your dough out into a rectangle roughly the width of the pan. Fold in the top two corners, roll and tuck until you have a loaf.
Transfer the loaf to a greased pullman pan. Let it proof for 45 min to an hour or until doubled in size. It shouldn’t expand past the top of the pan. Preheat the oven to 350 and put the lid on the pullman. Bake for 30 minutes. Take the lid off and bake for 15 more minutes. If you test the bread with a kitchen thermometer, you should be somewhere between 190 and 200 F degrees. Let it cool completely.
Both styles of bread are delicious, but the main difference is the crust. The dutch oven or iron pot method allows room for the loaf to rise and gives it a more toasty crust. The pullman loaf is very soft and much easier to slice, and the narrow shape of the pan will create a better rise. Both methods are technically historically accurate, but it is more likely that this particular recipe as demonstrated to the book’s author was baked boule-style.
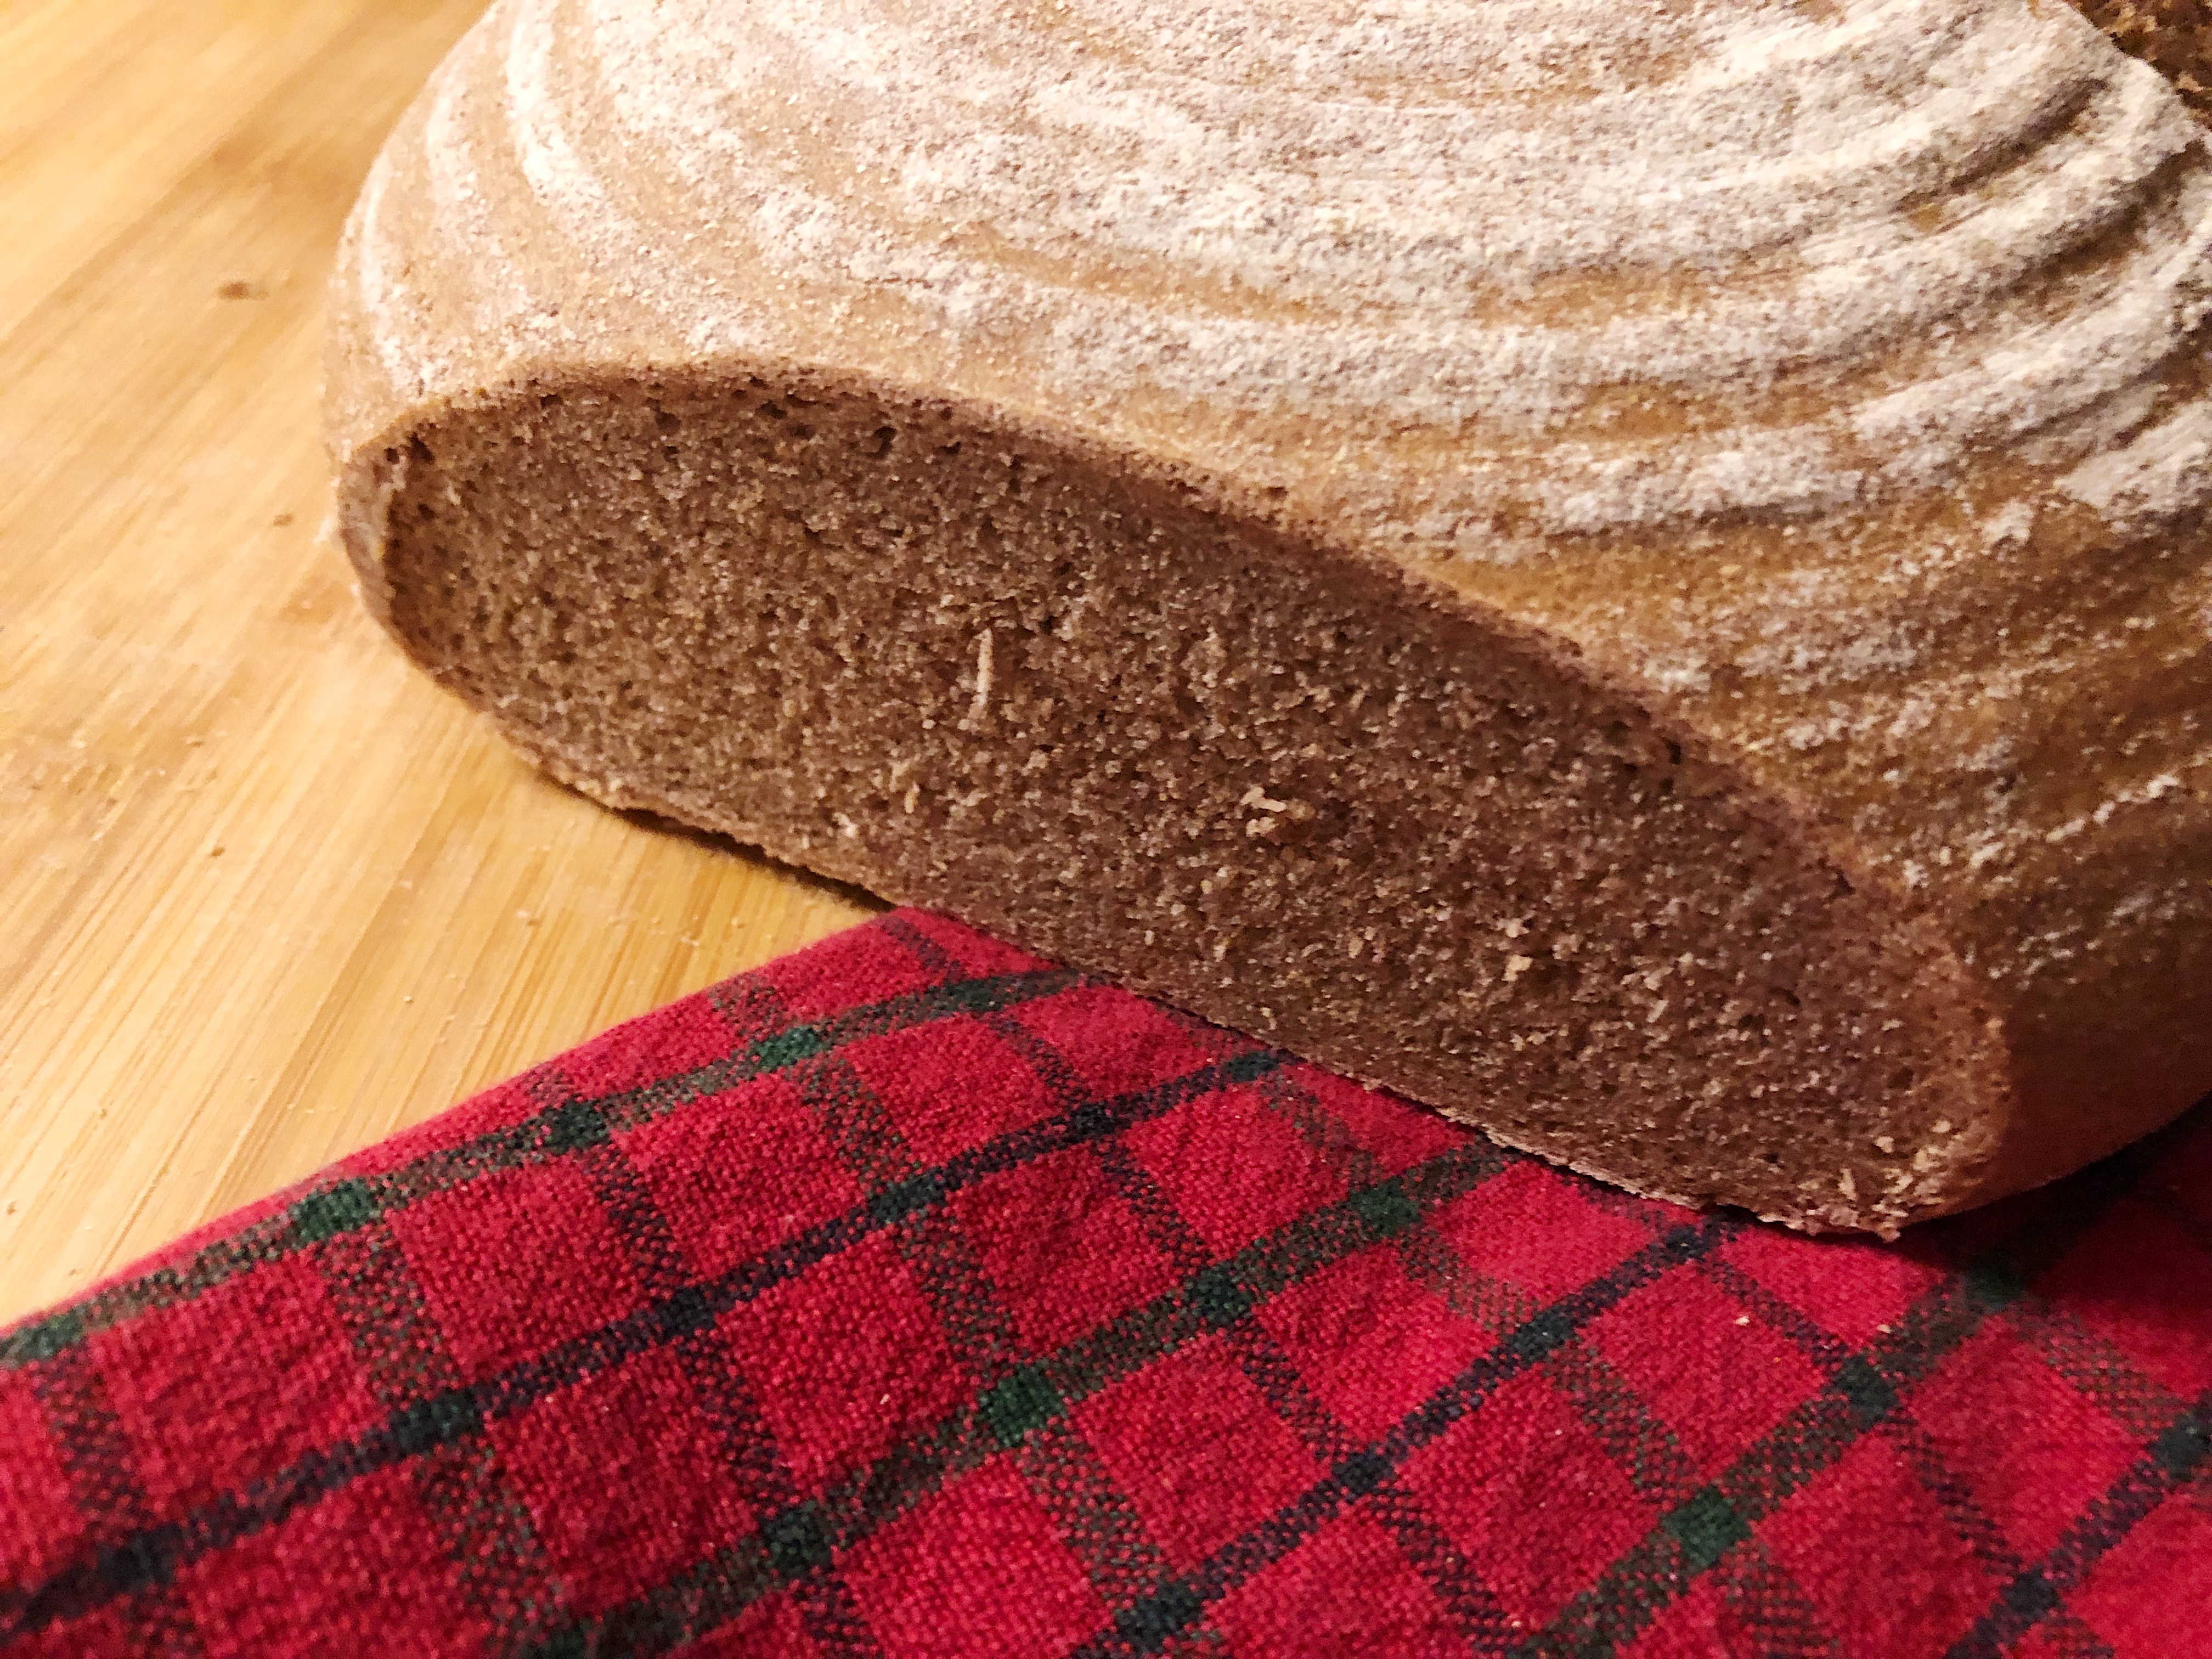
The Verdict
We love this rye/wheat bread, and it tastes excellent topped with jam and brie. It is very dense, but I actually prefer my rye bread to be on the dense side. It has a great consistency and it does not smell boozy like rye loaves sometimes do.
You could add some bread flour or try scalding the rye for a fluffier texture, but we did not do that because it would not accurately reflect the instructions in the original recipe. This recipe is not terribly hard, but it may be a challenge for someone new to bread-making. If you’re nervous, try it in a pullman pan and work your way up to a boule.
Mixed Wheat and Rye Bread
Ingredients
- 350 g warm water (90-110 degrees F / 32-43 C)
- 5 g active dry yeast
- 10 g sea salt
- 250 g rye flour
- 250 g wheat flour
Combine yeast with the warm water and stir together. Let it sit for 5 minutes to allow the yeast to bloom. While the yeast sits, combine the wheat and rye flours and add salt. Add the yeast water to the bowl and mix. Stir until a wet but malleable dough forms, then let it rest for 20 minutes. Lightly flour your work surface and knead the dough for 10 minutes. Cover the dough with a tea towel and let it rise for 2 hours in a warm place.
Put the dough on a lightly floured surface and knead for 5 minutes. For a pullman pan: Shape into a loaf and transfer to a greased pan to proof for 45 minutes. For a boule, fold the dough and shape into a ball. Transfer to a floured proofing basket or kitchen bowl with a linen cloth in it. Let it proof for 30-45 minutes. Proof until roughly doubled in size.
Dutch oven: Pre-heat your oven with the dutch oven inside to 450 degrees for 30 minutes until both are hot. Turn out the dough onto a piece of parchment paper. Put the dough and parchment paper into the dutch oven and put the lid on. Bake for 30 minutes. Take the lid off and bake for 15 more minutes.
Baking stone: Pre-heat your oven with the baking stone inside at 450 F (230 C). Bake the boule for 40 minutes.
Pullman pan: Preheat the oven to 350 (175 C) and put the lid on the pullman. Bake for 30 minutes. Take the lid off and bake for 15 more minutes.
Cool completely before cutting.

It’s been a while since your last post and I loved finding this in my inbox to read. Shared it with my friend who’s just starting out as a professional baker.
LikeLiked by 1 person